
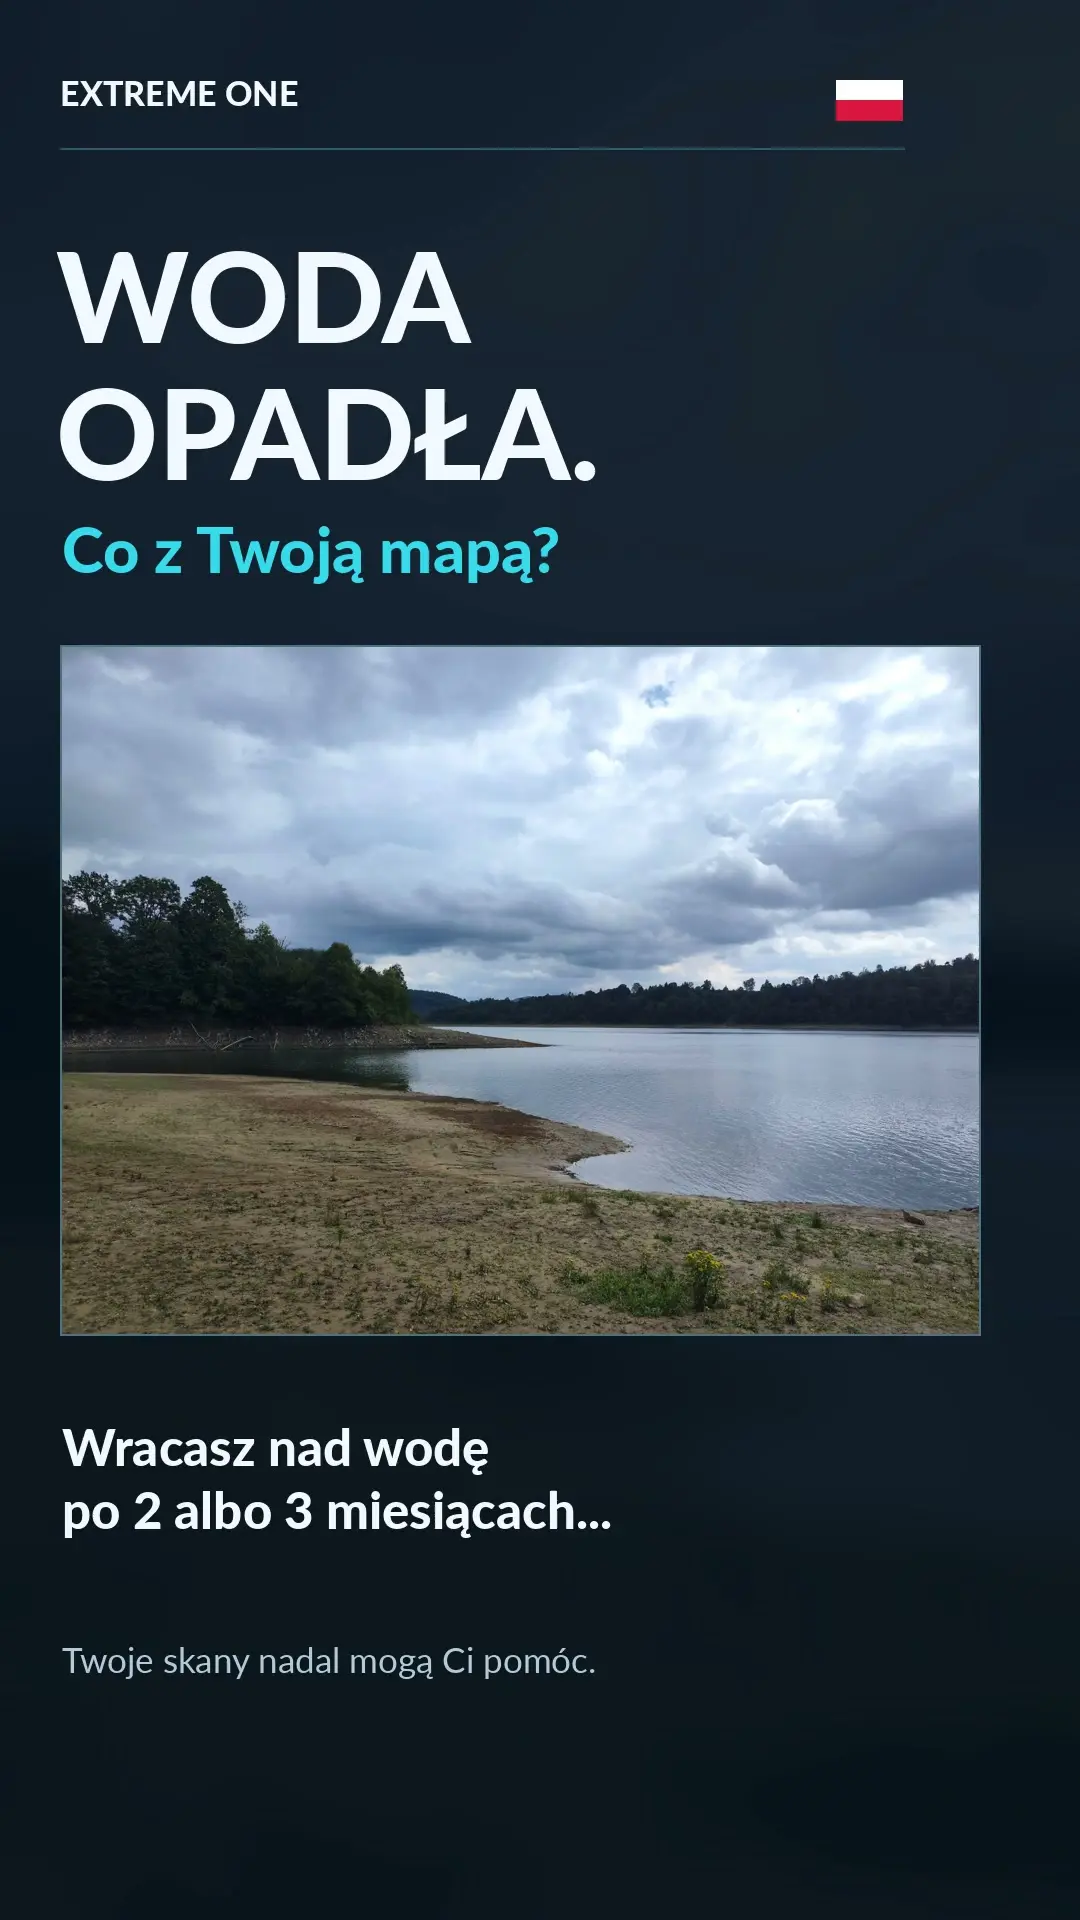
Water level correction: adjust the bathymetry to the current depth
Water level correction helps you use earlier bathymetry when the lake level changes. You save a map in spring, and a few months later there is less water. A spot that was 6 m deep is only 4.5 m deep after the level drops by 1.5 m.
Comparing the saved map with a sonar measurement
Choose a familiar, fairly flat section of hard bottom for which you have earlier measurements. Drive slowly over it. The app collects current sonar readings together with the GPS position, compares them with the map and suggests a level difference. You check the suggestion and confirm the correction.
You can drive manually or along previously set waypoints with hopper opening turned off. What matters is comparing the same place and getting a stable reading of the actual bottom. Fish and vegetation may be visible on the sonar recording, so the choice of reference section matters.
Manual correction in centimetres
If you know the difference from your own measurement, enter it manually. A drop of 1.5 m is -150 cm, and a drop of 4.5 m is -450 cm. If the level has risen, you enter a positive value. The Water level option is at the bottom of the map tools.
What happens after you confirm
The depths of the selected map are recalculated by the same difference. The original scans are kept, and the correction can be undone. This way the map matches the chosen water level without deleting earlier measurements.
The presentation shows the map before and after the correction and uses demonstration readings. The photos were provided by Dariusz Woźniak, and the idea was suggested by Jarek Kowalski. Thank you for helping develop the feature.
Water level correction: choosing a reference spot
For the comparison, choose a section that was scanned earlier and whose character you know. A flat, hard bottom makes it easier to compare measurements, because a small difference in the boat’s position should not then mean moving onto a steep slope. If you compare points lying on two sides of a large drop-off, the change in reading may come from a different measurement spot rather than from the water level itself.
Automatic water level correction uses a series of readings together with position. That is why a steady run and a stable bottom reading are important. Watch the sonar recording and the section of the map being compared. If the result clearly does not match what you know about the lake, first check the spot and the measuring conditions. Confirming the suggestion should be a deliberate decision by the user.
Why the sign of the value matters
When the water level falls, depths measured from the surface become smaller. In the example, the saved 6 metres becomes 4.5 metres after a drop of 1.5 metres. So you enter a negative value. When the level rises, the situation is reversed: there is more water above the same bottom and you use a positive value. The unit for manual entry is centimetres.
Manual water level correction is convenient when you know the change from your own measurement or a reliable reference point. Before confirming, check the unit and the sign once more. A value of -20 means a drop of twenty centimetres, and +30 a rise of thirty. There is no need to convert such a value to metres in a field that expects centimetres.
What changes across the whole map
A uniform depth shift corresponds to a change in the surface level relative to the previously saved bottom. It is not a separate measurement of every map cell. The shape of the previously measured terrain remains the reference, and the values are presented with the chosen difference. This lets you make use of earlier work when the main change is the amount of water in the lake.
Water level correction is not meant for manually levelling a single hump or replacing a faulty reading in one place. If the problem concerns only part of the model, it is worth looking at the recordings it was made from. A change in water level and a local difference in bottom shape are different situations, so first establish what you actually want to correct.
Water level correction: comparing the map before and after
Choose a familiar spot and note the depth shown. After confirming, compare it with a second spot, ideally at a clearly different depth. Both should reflect the same chosen difference. Also look at the colour legend, because the display must be read together with the numerical values, especially when part of the area becomes very shallow.
Water level correction keeps the original scans and lets you undo the change. That way you can return to the earlier reference point instead of deleting saved material. In the video we show this principle using demonstration data. In your own work you use measurements from your fishery and confirm a value you have verified based on current readings or a manual measurement.
See also
Drone view: tilt the map and return to an interesting spot on the sonar recording



 Karpik Kroczek, asystent Extreme One